
Updated on: 2026-05-19
Choosing embroidery that looks refined starts with correct planning and careful handling. In this guide, you will learn how to approach the question, “Carmel Queen will go embroidered,” with clarity and good decisions.
You will review practical advantages of embroidery, selection factors, and a simple workflow for preparing your fabric and ensuring clean results.
You will also find common questions about stability, color matching, and finishing methods, plus a checklist you can apply to future projects.
By the end, you will be ready to take informed steps toward durable, elegant embroidered work.
- 1. Key Benefits
- 2. Step-by-Step Guide
- 3. FAQ Section
- 4. Summary & Final Thoughts
- 5. About the Author
Carmel Queen will go embroidered: Key Benefits of Thoughtful Embroidery
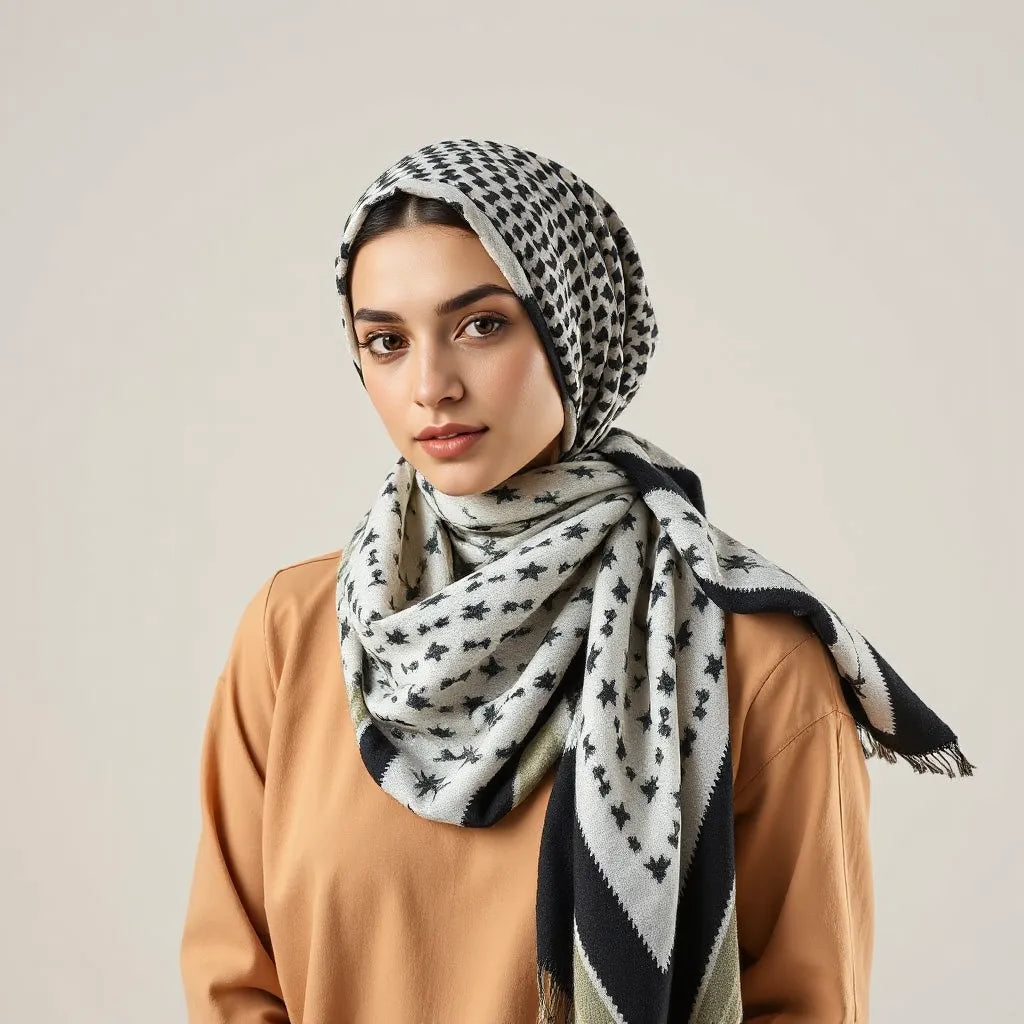
When a garment or accessory is intended to become embroidered, the objective should be more than decoration. The goal is a balanced finish that respects the fabric, supports the design, and holds up to repeated wear. The phrase “Carmel Queen will go embroidered” often signals a desire for richer texture, clearer visual storytelling, and a more personal garment identity.
Embroidery also provides practical value. It can elevate modest styling, create a focal point without excess embellishment, and improve perceived craftsmanship. The best results come from aligning thread weight, fabric behavior, and finishing choices before stitching begins.
- Premium visual depth: Raised thread and tight stitching create dimension that reads clearly in natural light.
- Stronger design identity: Motifs and placement help unify the overall look, especially on cuffs, hems, and structured areas.
- Craft-focused longevity: Quality thread choice and proper backing support long-term wear and wash handling.
- Versatile styling: Embroidered accents can complement solid tones, printed pieces, and layered styling.
- More consistent presentation: A well-planned embroidery layout reduces the risk of uneven density and shifting fabric.

Motif placement map with thread color swatches
Step-by-Step Guide: From Fabric Choice to Clean Finishing
Embroidery success depends on preparation. Before any stitch begins, you should confirm garment stability, select thread that matches the intended texture, and establish a placement plan that respects fabric drape. Use this workflow when “Carmel Queen will go embroidered” is part of your styling vision.
1) Assess fabric behavior and garment structure
Start by evaluating the base fabric and how it moves. Fabrics with different weave tightness and stretch respond differently to needle pressure. If the material stretches, the embroidery should be designed to avoid distortion. If the material is stable, finer motifs and tighter satin details may work effectively.
Also consider seams and stress points. Areas around shoulders, waist shaping, and hems experience movement. Plan embroidery density with those realities in mind. For structured coverage, aim for secure stitch anchoring rather than heavy coverage across high-flex zones.
2) Choose thread type and a controlled color palette
Thread selection influences both appearance and durability. A thread that is too heavy can cause puckering, while a thread that is too light may flatten and look inconsistent. Aim for thread weight that supports clear edges and smooth fill.
For color, establish a small palette rather than random selection. Choose a primary thread color, optional shading, and a consistent highlight approach. This strategy helps embroidery look intentional and balanced, not scattered.
3) Plan motif placement and spacing
Placement drives visual harmony. Embroidery that is too high or too close to seams can distort during wear. Use a simple layout approach: identify the design focal area, confirm negative space, and confirm how the embroidery aligns with the garment lines.
Also consider how the motif will be viewed. Hand-stitched detail may be best placed where it can be seen clearly without being blocked by layering or folds.
4) Prepare stabilization and test stitching
Stabilization is essential for clean embroidery. It supports the fabric while you stitch, helping the motif hold its shape. When stabilization is correct, the embroidered surface looks smoother and the underside remains more controlled.
Before committing to full coverage, perform a test stitch on a fabric sample or hidden area. Confirm thread tension, needle compatibility, and stitch density. This reduces the need for rework and supports a consistent finish.
5) Execute stitching with controlled tension
During stitching, maintain consistent tension. Uneven tension can cause warped outlines, thread buckling, or gaps. A stable workflow with measured pacing supports accurate motif edges.
If the design includes outlines, secure the edges before adding fill elements. This sequencing helps maintain shape and provides a clean boundary for color transition.
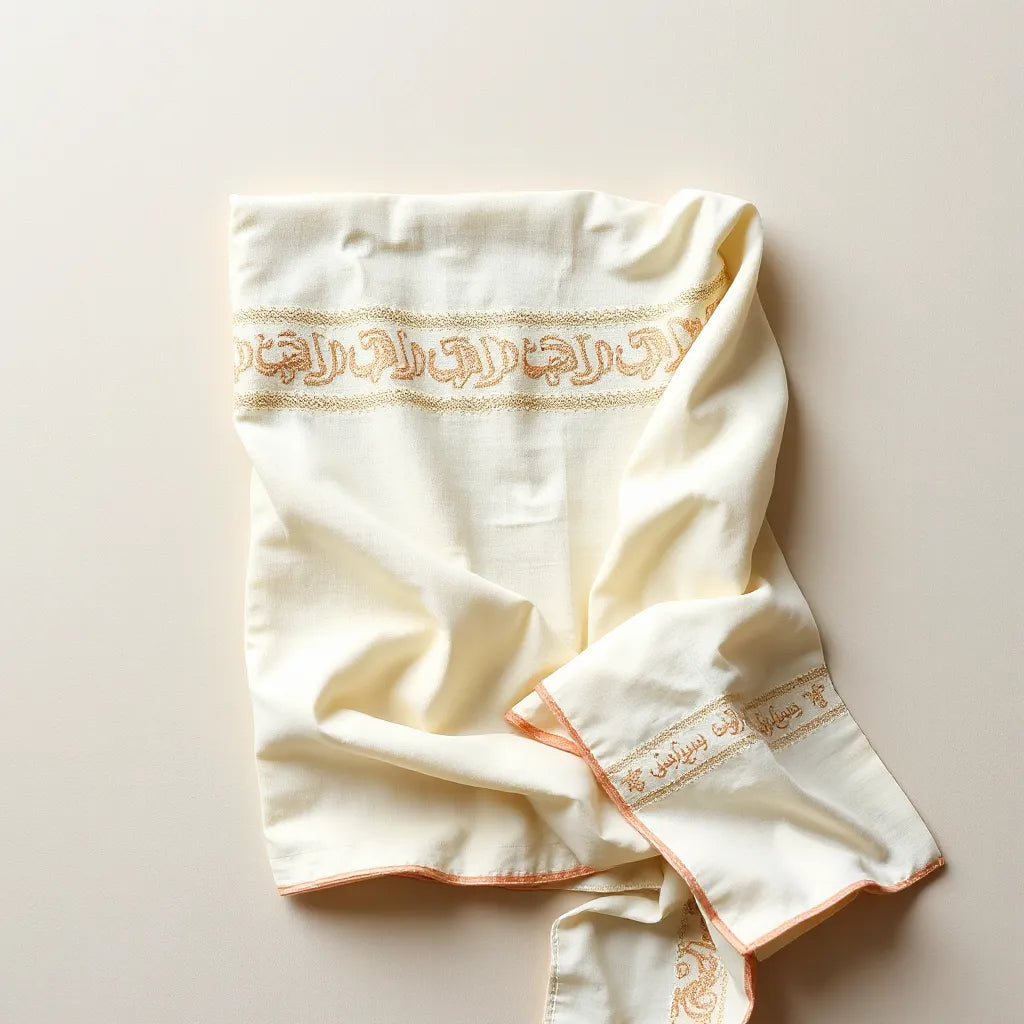
6) Finish, press, and preserve
Finishing determines how the embroidery presents over time. Remove excess threads, ensure backing is secure, and confirm the embroidery lies flat. Gentle pressing helps set the surface, but it should be done with fabric safety in mind.
Preservation also includes cleaning guidance. Use embroidery-friendly care and avoid harsh friction that can lift thread fibers. With appropriate maintenance, embroidered work retains its clarity and texture.

Fabric care symbols beside embroidery finishing tools
Key Checkpoints Before You Commit
Even a well-conceived plan can fail if key steps are skipped. Use these checkpoints to evaluate readiness for “Carmel Queen will go embroidered” outcomes. These points apply to most modest-wear embroidery scenarios and help you protect the base fabric.
- Stability confirmation: Verify whether the fabric stretches, frays, or shifts easily.
- Thread match: Confirm thread weight and sheen align with the intended look.
- Placement alignment: Ensure motifs respect seams, folds, and natural garment lines.
- Test before scale: Perform a small test to confirm tension and visual density.
- Finishing plan: Define pressing and underside cleanup steps from the beginning.
If you are also exploring coordinated modest styling pieces, consider an artisan-led approach that emphasizes clean surfaces and stable construction. For example, you may find helpful guidance by reviewing embroidery and design preparation resources such as Embroidery Loom Modern Dress.
For base layers that support a refined look under embroidered pieces, you may also consider compatible inner options from Palestinian Elegance, such as cotton inner hijab or a structured bonnet like underscarf bonnet. The right foundation helps embroidery sit smoothly and reduces shifting.
Finally, if you want a broader perspective on personal meaning and design planning, you can also read Personalized Birthstone Necklace Guide for Meaningful Style. The design planning mindset translates well to textile choices and motif decisions.
FAQ Section
Does embroidery change how fabric drapes and feels?
Embroidery can slightly change drape, especially if motifs are dense or placed on flexible areas. This is why stabilization, stitch sequencing, and thread weight are important. With careful planning, embroidery adds texture while preserving overall movement.
How do I choose the correct thread weight for a clean result?
Thread weight should match the fabric’s stability and the motif scale. A test stitch is the most reliable method. It helps confirm whether the thread creates crisp edges without puckering and whether the surface remains smooth after gentle pressing.
What finishing method supports embroidery longevity?
Clean finishing typically includes securing loose threads, controlled underside cleanup, and safe pressing. Equally important is care guidance. Using embroidery-friendly cleaning methods reduces thread stress and helps preserve color clarity.
Summary & Final Thoughts
Carmel Queen will go embroidered is not merely a design wish; it is a commitment to thoughtful preparation, correct material choices, and disciplined finishing. When you assess fabric behavior, plan motif placement, stabilize properly, and execute embroidery with controlled tension, you support durable beauty and an elevated presentation. If you are ready to move forward, begin with a test-and-plan approach and prioritize craftsmanship over speed. For ongoing modest-wear foundations, explore Palestinian Elegance selections such as Syrian style closed bonnet to help your embroidered pieces sit neatly and confidently.
About the Author
Sulieman Alhazma is a textiles and modest fashion specialist with expertise in artisan-led embroidery, fabric coordination, and garment finishing. His professional focus centers on practical guidance that helps customers make informed choices while respecting traditional craftsmanship. He emphasizes precision, durability, and thoughtful design planning. You can reach out for future guidance through the boutique’s standard support channels.
The content in this blog post is intended for general information purposes only. It should not be considered as professional, medical, or legal advice. For specific guidance related to your situation, please consult a qualified professional. The store does not assume responsibility for any decisions made based on this information.